

In this post, I’ll share my experience with submitting a contribution to one of the most popular machine learning libraries for the Python programming language, Scikit-Learn. My goal here is not to go into depth about the algorithmic details of the bug I fixed, although a few of the links below will provide that context. Rather, I’d like to focus on the process and some tools I used to help the workflow proceed smoothly. My hope is that if you decide you’d like to contribute to an open source project, I’ll have provided some tricks and tips that will make it easier for you to do so.
Submitting an Issue
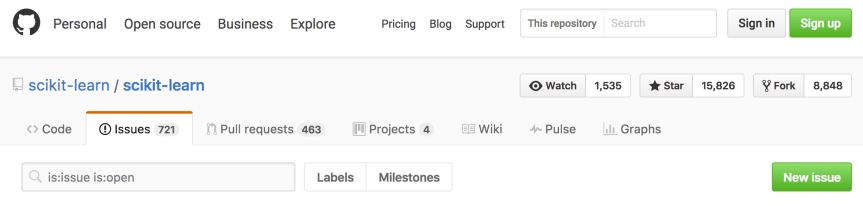
Once I found a bug in the code base, the first thing I had to do was submit an issue. Scikit-Learn has its own specific protocol for filing bugs which you can read here. I submitted a minimal piece of code that reproduced the bug, a description of the unexpected behavior, documentation on which versions of various Python libraries I was using, and information about my operating system. Here are links to the issue I submitted and to the reproducible code that demonstrated the bug. Of course, before doing any of this, I checked the issue history to see if anyone else had already made the same request.
Once I posted my issue, the Scikit-Learn administrators determined whether they could reproduce the bug. GitHub user amueller labeled my issue a bug, indicated that it should be fixed before the release of Scikit-Learn version 0.19.0, and requested a contributor.
Keep calm and carry on
–British WWII propaganda
Patience
Now is a good time to stop and consider the hard work of the folks charged with maintaining the Scikit-Learn code base. As open source software, no one is paid for full-time upkeep of Scikit-Learn, and the volunteers who track the issues we users submit are largely doing so out of the kindness of their hearts. The company I work for is paying my team of data scientists millions of dollars to derive business value using Scikit-Learn, which we all have access to for free. I kept this at the forefront of my mind whenever I started getting a little frustrated or overwhelmed. Any expectation of instant interaction is misplaced. I would like to thank GitHub users amueller and jnothman for helping me navigate the contribution process.
The Contribution Process
About a week after I submitted my issue, no one had volunteered to contribute the fix and figured I ought to roll up my sleeves and tackle the problem myself. Ultimately, this came with the reward of getting my name on the contributor list, which was well worth it.
Identifying the Bug
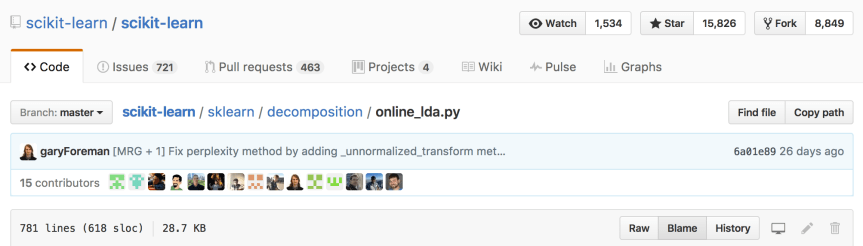
Finding the line of code that introduced the bug wound up being easier than I would have guessed. Although I didn’t learn about this feature until after my pull request was merged, I strongly recommend using GitHub’s Blame feature to determine who last edited the code. If I were to start over, I’d mention the contributor who introduced the bug at the very beginning of the conversation. That way, he or she could have offered advice on how to best resolve the conflict.
Forking, Cloning, and Branching the Repository
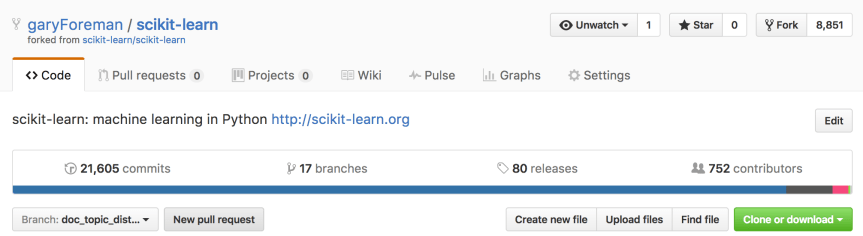
Once I found the code I needed to change, I Forked the repository to my own GitHub account and Cloned that Fork to the computer where I made the edits. I also made sure to Sync my Fork to the master copy of the repository. Syncing was important because while I was implementing my patch, dozens of other users were making edits and issuing their own pull requests. By syncing often, I kept my clone of the repository up to date. Finally, as per the Scikit-Learn contribution instructions, I created a new branch in my local clone of the repository. This is where I made changes to the code.
Creating a New Conda Environment
Before I could run the code contained in the cloned repository, I had to build it. But before doing that, I created a new conda environment in which to develop the code. This ensured that when I built the development version of Scikit-Learn, no conflicts occurred with the version of Scikit-Learn that is included in my base Anaconda Python installation.
Fixing the Bug
There was more than one way to implement my fix to Scikit-Learn, which I’m sure is quite common. Through trial and error, I learned that the admins definitely preferred that I not change the public API. During my first attempt to fix the bug, I added an argument to the transform method of the class I was editing. Because the transform method is implemented pretty much the same way in every class throughout the entire code base, this solution was not acceptable. Also, the admins were not in favor of storing a large amount of extra information in class attributes to be passed around to the methods of the class. The idea here was to avoid the risk of taking up too much memory, which is a reasonable concern for the implementation of a machine learning algorithm. My ultimate solution was highly abstracted from the user, although certain functionality of the module had to be deprecated.
I also had to add and modify several unit tests in the module I modified. This demonstrated that the new code worked as intended, and it will protect my additions from breaking when future edits are made by other users or even myself.
Pylint and make test
Once I implemented my changes to the source files, I found Pylint and make test to be incredibly helpful. Pylint is a tool for checking that your Python code is error free, and it makes certain stylistic checks as well. Mainly, I used Pylint to ensure I didn’t have extra white space floating around my source code, which happened when my text editor made automatic indents. Pylint will also tell you about a ton of other stylistic problems with the code, e.g., variable names are too short, too many arguments in a function, etc. I only concerned myself with the white space warnings and the errors, since these will fail Scikit-Learn’s test modules (discussed below). Before I started using Pylint, I wound up having to push commits entitled “remove superfluous white space,” which I found to be embarrassing.
I was able to execute all of Scikit-Learn’s unit tests by running make test in the base directory of the cloned repository. I’ll mention more below about how Scikit-Learn has GitHub set up to automatically run these tests for a new pull request. I found the process to be quicker when I ran these tests locally to make sure I passed.
Sync, Merge, Commit, Push
After passing Pylint and make test, my first step was to sync the master branch of my cloned fork to the master of Scikit-Learn’s copy of the repository as I mentioned above. Next, I merged any new code from the upstream master to the branch I created to make my edits. Then I committed my changes. Finally, I pushed my new commit to the remote fork I created in my GitHub account.
Submitting a Pull Request
After the first time I pushed code to my remote fork, I had to open a pull request. First, I switched my branch to doc_topic_distr_deprecation using the drop down menu. Then I hit the “New pull request” button.

Next, I completed the pull request form that is automatically populated in the comment field. I hit the big, green “Create pull request” button, and my request was officially submitted. At this point, the pull request was permanently associated with remote copy of the branch I created for my edits. This meant that any future commits I pushed to this branch were automatically incorporated into the pull request, and I didn’t need to open new requests as I made updates to my patch.
The Test Modules
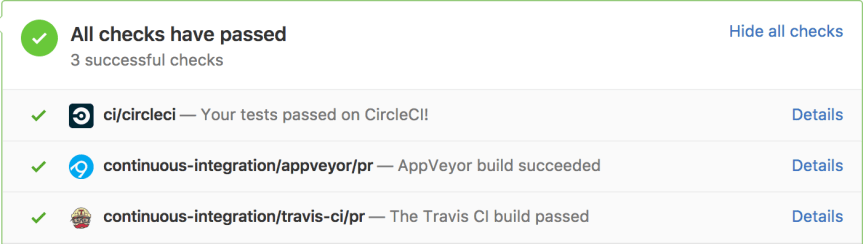
Immediately after submitting a pull request, the user’s code is subjected to a few test suites that run automatically via GitHub. While I never took the time to look into exactly what is run in each of these tests, I found them to be similar to running Pylint and make test as I described above.
The keen reader may find it redundant that I’ve run the test module locally only to have it rerun after submitting the pull request. The key here is that it can take hours for the test modules to run via GitHub because other users are pushing their code as well. More than once, I wound up several commits down in the queue only to have the test tell me that I had an extra space at the end of a line. Once I wised up and began using Pylint, passing these test modules became much less tedious.
As I mentioned in the previous section, after my first submission, the pull request remains linked to the branch I created in my GitHub fork. As I iteratively updated my patch, the pull request was updated with each push and these test modules were run automatically.
Conclusion
From the time I first submitted the issue, it took about three weeks until my pull request was merged. The process was very much iterative, and I had a lot of suggestions from the Scikit-Learn admins. I’ll close by summarizing the tips and tricks I’ve discussed in this post:
- Patience
- Git Blame
- Conda Environments
- Don’t mess with the public API
- Keep memory usage low
- Pylint
make test
